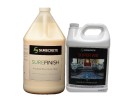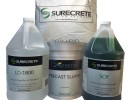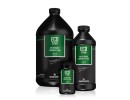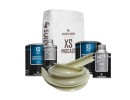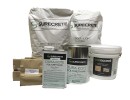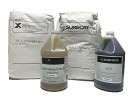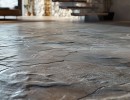







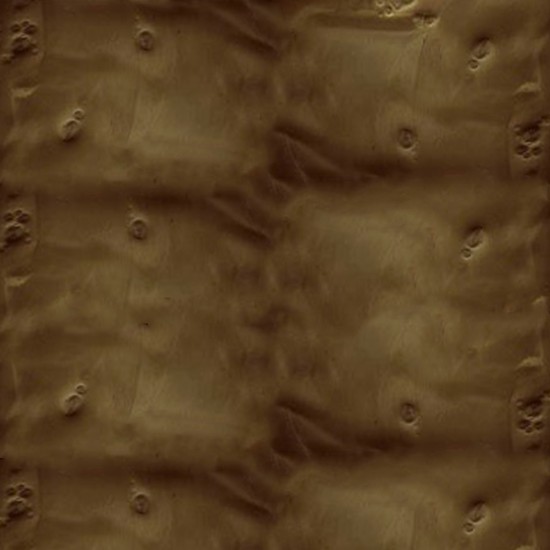




200 Sq. Ft. SureCrete Metallic Epoxy Floor Kit
- Stock: In Stock
- Model: SC-K200
$620.84
Available Options
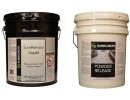
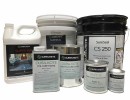
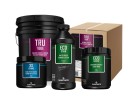
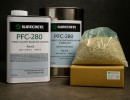
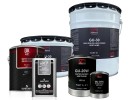
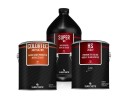
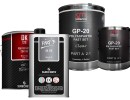
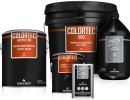
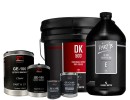
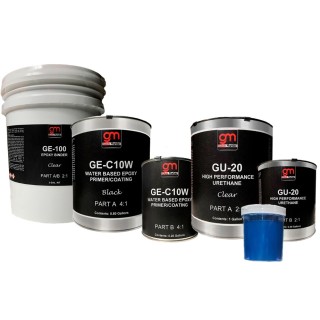
200 Sq. Ft. Epoxy Floor Kit includes:
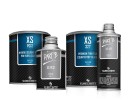
- 1 Gal kit of a Primer coat, Black.
Black primers create a deeper illusion of a "3D" floor but are only used with dark colors. Otherwise the primer color will bleed through the metallic epoxy. For instance, a white metallic floor with a black primer underneath will turn out gray instead. Primer/Base coat also available in 100% solids epoxy.
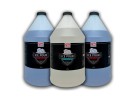
- 3 Gal. kit of Clear Epoxy (100% Solids).
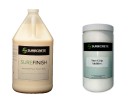
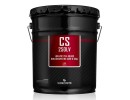
- 1 Gal. kit of Top Coat. Available in WaterBased Gloss Finish or SolventBased High Gloss Finish.
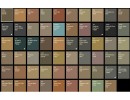
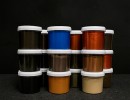
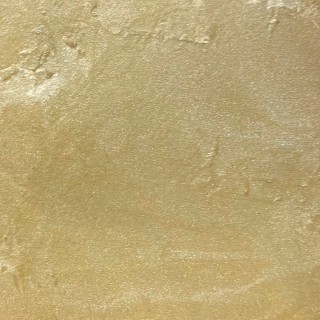
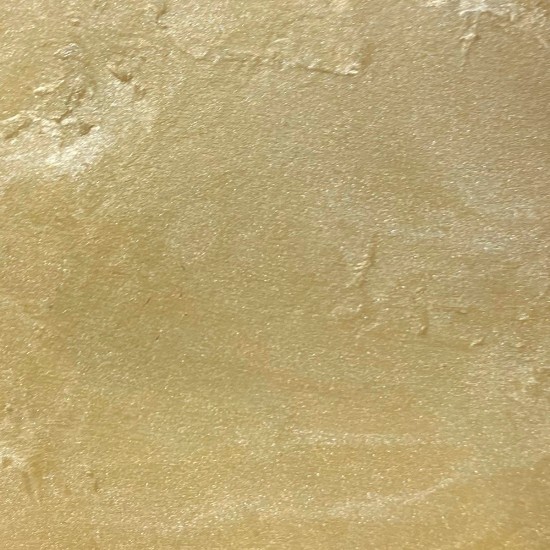
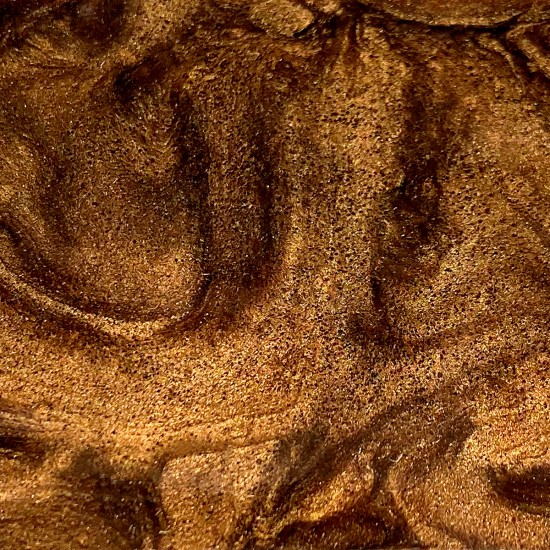
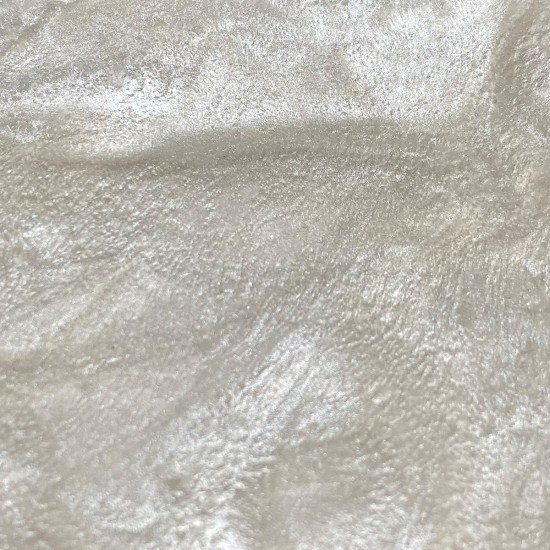
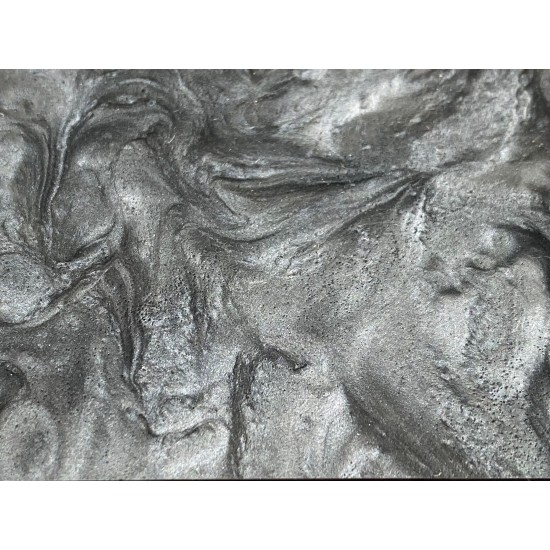
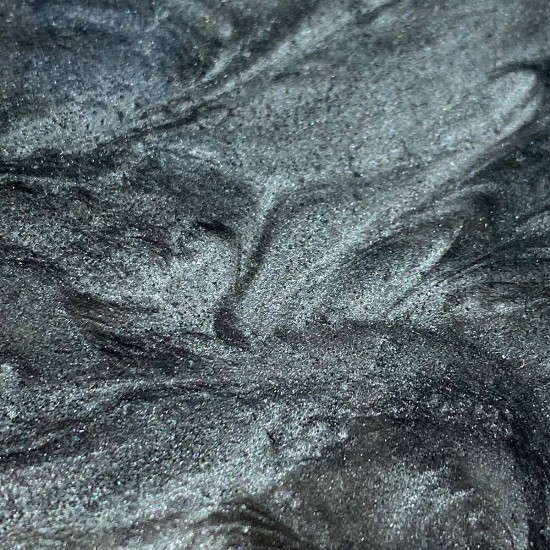
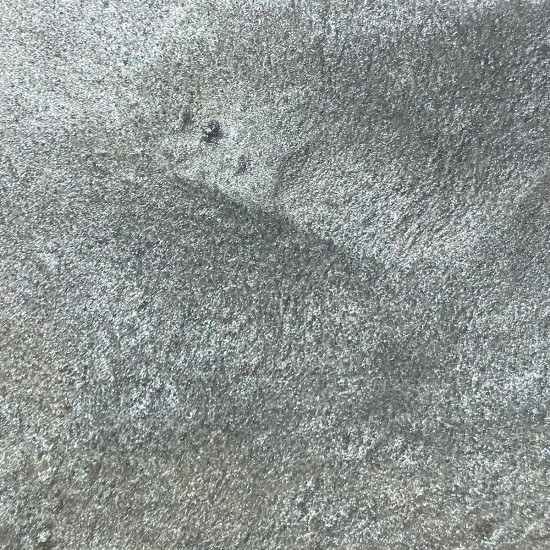
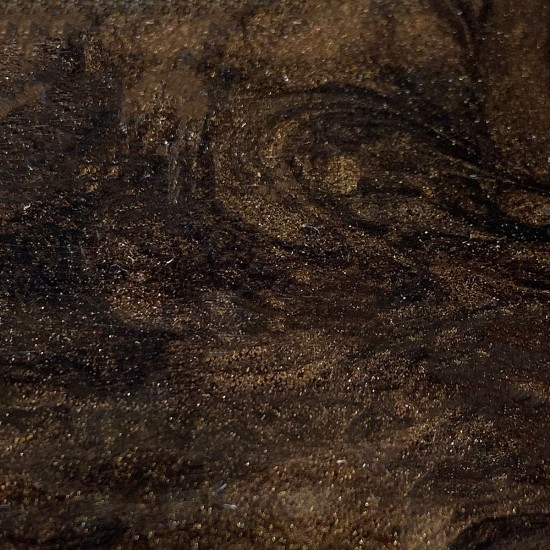
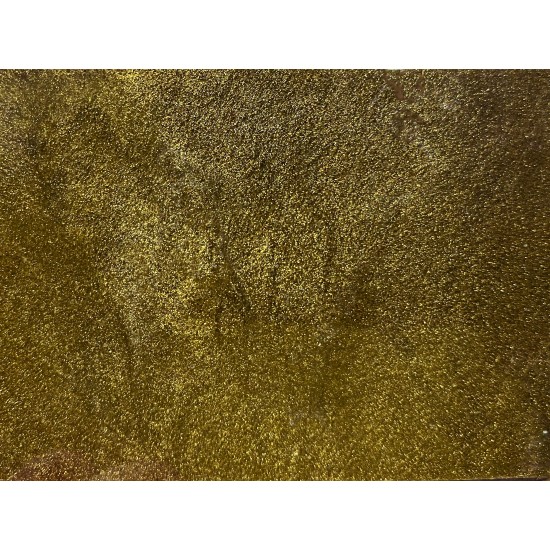
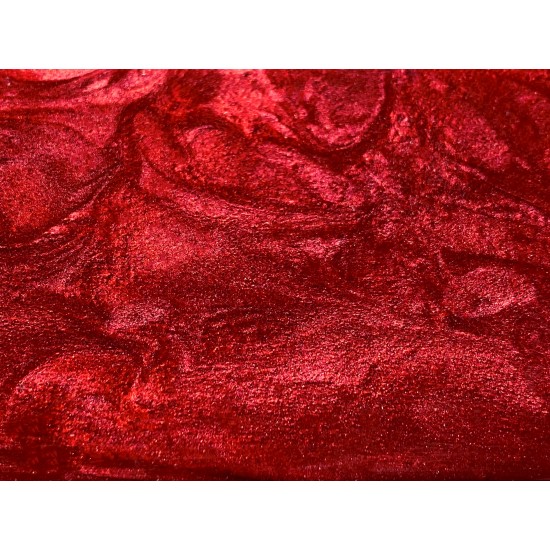
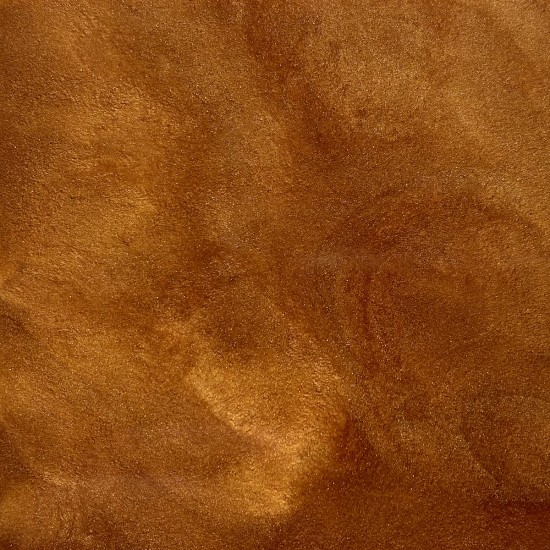
- 1 Metallic Color.
DISCLAIMER: This kit only includes one metallic color option. For multi-color metallic projects, additional colors are available here.
Contact us with any questions about choosing the right colors for your project.
How to use Epoxy Floor Kit
- Any surface must be completely level, and clean/free of any contaminates.
- If the area you are working with is any larger than 200 square feet, mark 200 square feet by starting at the wall, and marking your endpoint with blue painters tape on the wall. This will make sure you don't use too much or too little product for your desired result.
- If the walls have already been painted, use blue painters tape around the edges where your wall and your floor meet while leaving a 2 millimeter gap above the floor.
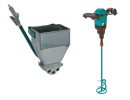
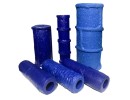
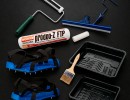
- Mix the primer and apply it to the floor with an EpoxyGlide roller (Be sure to premix the pigmented Part A!). Allow it to cure for 8 hours.
- Sand the floor with 100 grit paper to allow proper bonding of the epoxy to the primer Be sure to vacuum up the dust once finished.
- Add your metallic pigment into the Part A of your epoxy and mix it in. Then mix the 2 parts A with 1 part B for 3 minutes.
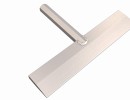
- Pour the epoxy on your desired surface, and use either a squeegee or an EpoxyGlide roller to spread the material to 200 square feet (Do not let the epoxy sit in the bucket for too long as this will speed up the hardening process and make your epoxy unworkable!). *PRO TIP* Use spike shoes to be able to walk on your epoxy without leaving shoeprints, introducing dirt and contaminates from your shoes, and to get better grip on the slippery epoxy.
- Backroll the epoxy with a de-fuzzed EpoxyGlide roller to remove any puddles, low points and roller marks.
- Let it cure, and after 24-72 hours, the floor will be ready for heavy traffic (colder temperatures take longer to cure).
- Once cured, sand the epoxy once more, clean the floor and apply your sealer (topcoat) with an EpoxyGlide roller.
Please leave a review
Write Review
